Data validation allows you to limit or restrict the values that a particular cell will accept. It allows you to control what can and can’t be entered in your worksheet. For example, you may be expecting a number to be entered in a particular cell. When data validation is enabled for that cell, Excel will only accept a valid number for that cell. Another example would be the expectation of a direction, such as North, South, East, or West. We can create a drop-down list of valid choices that the user can choose from. There is a lot more we can do and this post illustrates a few of them.
In the data menu (Data tab), in the Data Tools group, there is a Data Validation button, as shown below.

When you click on the Data Validation… option you get the dialog box as shown below.
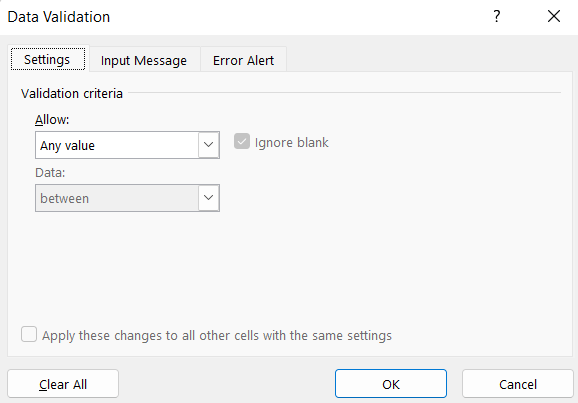
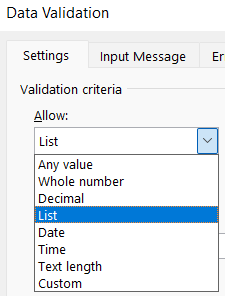
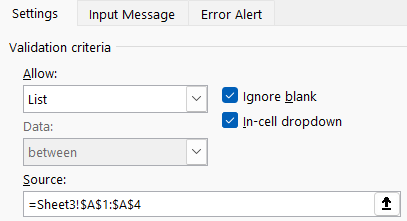
In the Data Validation dialog box, in the Settings tab, there is a List option.
If we want a List of valid values, we can specify a range of cells in the same worksheet or a different worksheet, or we can type in a list of values separated with a comma.
If we want users to enter a whole number, we could select Whole Number and then choose one of the options. You could choose Greater Than and put a 0 in the box if you wanted a number such as 1, 2, 3, 4 and so on.

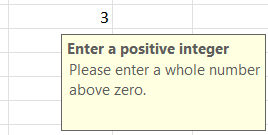
Once we set up the input message in data validation for that cell, we will see something like the following screenshot when the user clicks on the cell.
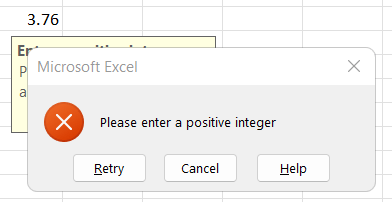
We can also set up the error message if the user enters an invalid number, as shown below. There are three styles of error alerts: Stop, Warning and Information. However, Stop is the only one that actually prevents the user from entering the invalid number, so it is recommended to use the Stop style.
You can copy your validation from one cell to another. To do that, select the cell with the data validation, Copy, select the cell or cells you wish to copy the validation to, and select Paste Special, Validation.
