WPF does not have a built-in wizard control. What you can do, however, is use a work-around. The WPF Extended Toolkit by Xceed does have a Wizard.
Here is a YouTube video that shows us how to create a simple Wizard in WPF after you create the wizard you can modify and extend it to suit your project requirements. The video is called How to Create a Simple Wizard with WPF and it is produced by Learn 2 Stop Hunger.
What is the end-result of this wizard-creating process? There is a series of screenshots at the end of this post.
Steps
What are the steps to creating a wizard?
- Create your application as normal. Name it WizardWPFExtendedToolkit (if you want to follow along with the code listings below) or whatever you like.
- Go to Nuget Package Manager and install the Extended WPF Toolkit by Xceed (it has over 4 million downloads and an orange and white icon).
- To the project, Add a WPF Window and name it WizardWindow.xaml
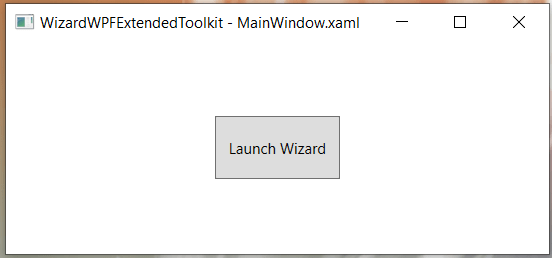
- Go to the MainWindow.xaml and add a “Launch Wizard” Button inside the Grid. Give it a name and size it.
- Create an event handler for the Click event for that Button
- In the Click event in C#, declare a new instance of the Wizard window and show it.
- Add a namespace for the Extended WPF Toolkit to the WizardWindow
- Copy in the example code into the Grid in the WizardWindow
- Have a close look at the code and prepare to modify it by creating separate ending tags for each of the pages
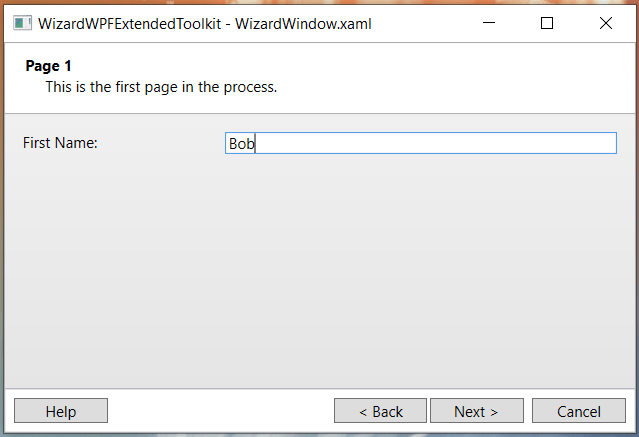
- Add your own content. For example, ask the user for their name.
- By default, you can’t go to the next page until you enter something in the name box. Add the code.
- Add the event handler TextChanged code to set the Page1.CanSelectNextPage
- In the MainWindow get the text the user entered and show a message box to test that it is working.
- Test and debug.
- Add more content to the existing wizard pages and add more pages as necessary.
- Do something with the user’s responses to the wizard.
Below is the code. Here is the XAML for the MainWindow.xaml.
<Window x:Class="WizardWPFExtendedToolkit.MainWindow"
        xmlns="http://schemas.microsoft.com/winfx/2006/xaml/presentation"
        xmlns:x="http://schemas.microsoft.com/winfx/2006/xaml"
        xmlns:d="http://schemas.microsoft.com/expression/blend/2008"
        xmlns:mc="http://schemas.openxmlformats.org/markup-compatibility/2006"
        xmlns:local="clr-namespace:WizardWPFExtendedToolkit"
        mc:Ignorable="d"
        WindowStartupLocation="CenterScreen"
        Title="WizardWPFExtendedToolkit - MainWindow.xaml" Height="350" Width="525">
    <Grid>
        <Button Name="BtnLaunchWizard" Height="50" Width="100" Click="BtnLaunchWizard_Click">Launch Wizard</Button>
    </Grid>
</Window>
Below is the code behind for the MainWindow.xaml.cs.
using System.Windows;

namespace WizardWPFExtendedToolkit
{
    public partial class MainWindow : Window
    {
        public MainWindow()
        {
            InitializeComponent();
        }
        private void BtnLaunchWizard_Click(object sender, RoutedEventArgs e)
        {
            var win = new WizardWindow();
            win.ShowDialog();
            if (!string.IsNullOrEmpty(win.FirstNameTextBox.Text))
                MessageBox.Show("Hello " + win.FirstNameTextBox.Text + "!");
        }
    }
}
Below is the example XAML code for the WizardWindow.xaml. This is the code you may copy in.
<Window x:Class="WizardWPFExtendedToolkit.WizardWindow"
xmlns="http://schemas.microsoft.com/winfx/2006/xaml/presentation"
xmlns:x="http://schemas.microsoft.com/winfx/2006/xaml"
xmlns:d="http://schemas.microsoft.com/expression/blend/2008"
xmlns:mc="http://schemas.openxmlformats.org/markup-compatibility/2006"
xmlns:xctk="http://schemas.xceed.com/wpf/xaml/toolkit"
xmlns:local="clr-namespace:WizardWPFExtendedToolkit"
mc:Ignorable="d"
WindowStartupLocation="CenterScreen"
Title="WizardWPFExtendedToolkit - WizardWindow.xaml" Height="350" Width="520">
<Grid>
<xctk:Wizard FinishButtonClosesWindow="True">
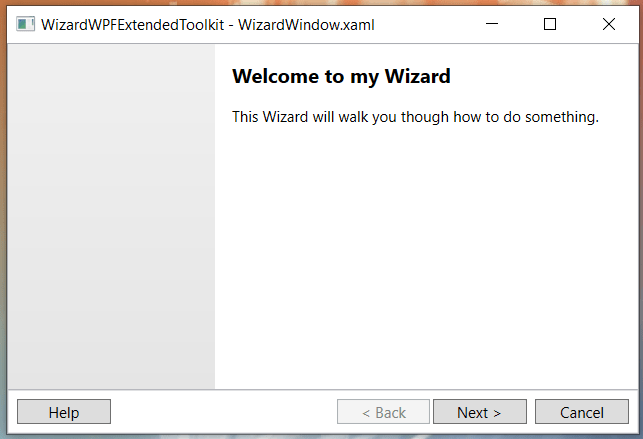
<xctk:WizardPage x:Name="IntroPage"
Title="Welcome to my Wizard"
Description="This Wizard will walk you though how to do something." />
<xctk:WizardPage x:Name="Page1" PageType="Interior"
Title="Page 1"
Description="This is the first page in the process."
NextPage="{Binding ElementName=Page2}"
PreviousPage="{Binding ElementName=IntroPage}"
CanSelectNextPage="False">
<Grid>
<Grid.ColumnDefinitions>
<ColumnDefinition Width="*"/>
<ColumnDefinition Width="5px"/>
<ColumnDefinition Width="2*"/>
</Grid.ColumnDefinitions>
<Grid.RowDefinitions>
<RowDefinition Height="Auto"/>
<RowDefinition Height="*"/>
</Grid.RowDefinitions>
<TextBlock Text="First Name:"/>
<TextBox Grid.Column="2" Name="FirstNameTextBox" TextChanged="FirstNameTextBox_TextChanged"/>
</Grid>
</xctk:WizardPage>
<xctk:WizardPage x:Name="Page2" PageType="Interior"
Title="Page 2"
Description="This is the second page in the process">
<Grid>
<TextBox>This is some items...info, text boxes, radio buttons, pretty pictures...</TextBox>
</Grid>
</xctk:WizardPage>
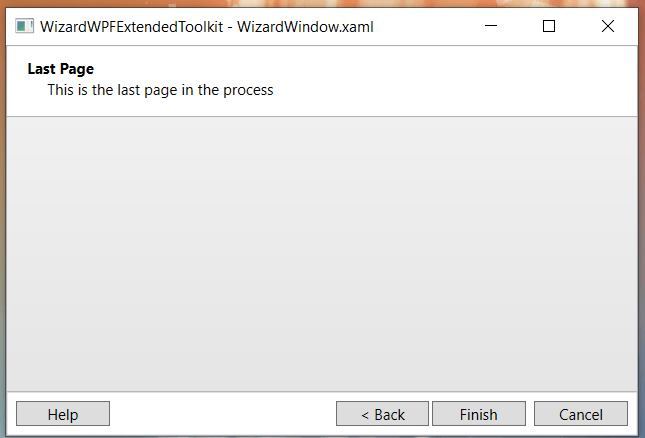
<xctk:WizardPage x:Name="LastPage" PageType="Interior"
Title="Last Page"
Description="This is the last page in the process"
CanFinish="True"/>
</xctk:Wizard>
</Grid>
</Window>
Below is the code behind for the WizardWindow.xaml.cs. This gives us a code pattern to follow for each screen on the wizard so that the user cannot go forward with first providing some information or input such as checking a check box or clicking a radio button.
using System.Windows;
namespace WizardWPFExtendedToolkit
{
    public partial class WizardWindow : Window
    {
        public WizardWindow()
        {
            InitializeComponent();
        }
        private void FirstNameTextBox_TextChanged(object sender, System.Windows.Controls.TextChangedEventArgs e)
        {
            if (string.IsNullOrEmpty(FirstNameTextBox.Text))
            {
                Page1.CanSelectNextPage = false;
            }
            else
            {
                Page1.CanSelectNextPage = true;
            }
        }
    }
}
Below are the screenshots.