In the Hyper-V Manager, on the right-hand side, click on New Virtual Machine (VM). Next. Give it a meaningful name. If it is a Windows Server you might call it something like DC01 if it will be your first domain controller. Also, choose the location. Next.
For the generation you would normally choose Generation 2 unless you had a good reason to choose Generation 1. If you want to install a 32-bit operating system, you must choose Generation 1. If you want to install an operating system older than Windows 8, choose Generation 1. For Generation 2, you will be installing Windows Server 20132 or newer, or Windows 78 or newer.
You should use dynamic memory. It is checked by default. If your host system has a lot of RAM, you might want to increase this setting from the default 1024 to 2048 or more. Note that database servers require a lot of memory. Database servers would include Exchange servers.
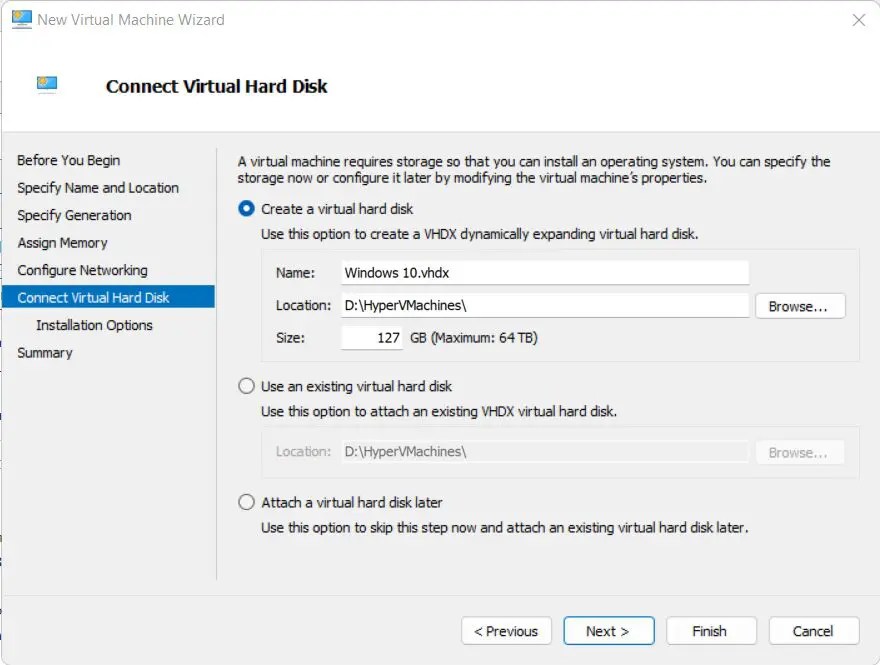
For the networking, you could leave it as Not Connected and come back later to configure it. Next. You probably want to create a new virtual hard disk. This is the first setting and it is already chosen by default. By the way, hard disk and hard drive are synonymous.
If you have downloaded an ISO file then you will choose to install an operating system from a bootable image file.
The last screen is just the summary. If you create the virtual machine, you have one more job to do. You need to install the virtual machine.
Below are the screenshots of creating a new virtual machine with the Virtual Machine Wizard in the Hyper-V Manager.

Next you will likely choose Generation 2.

You can connect it to a default switch or do that later.

Hard Disk.
Options.

Completing.
