- C# WPF Hello World Introduction
- C# WPF Hello World 2
- C# WPF Hello World 3
- C# WPF Hello World 4
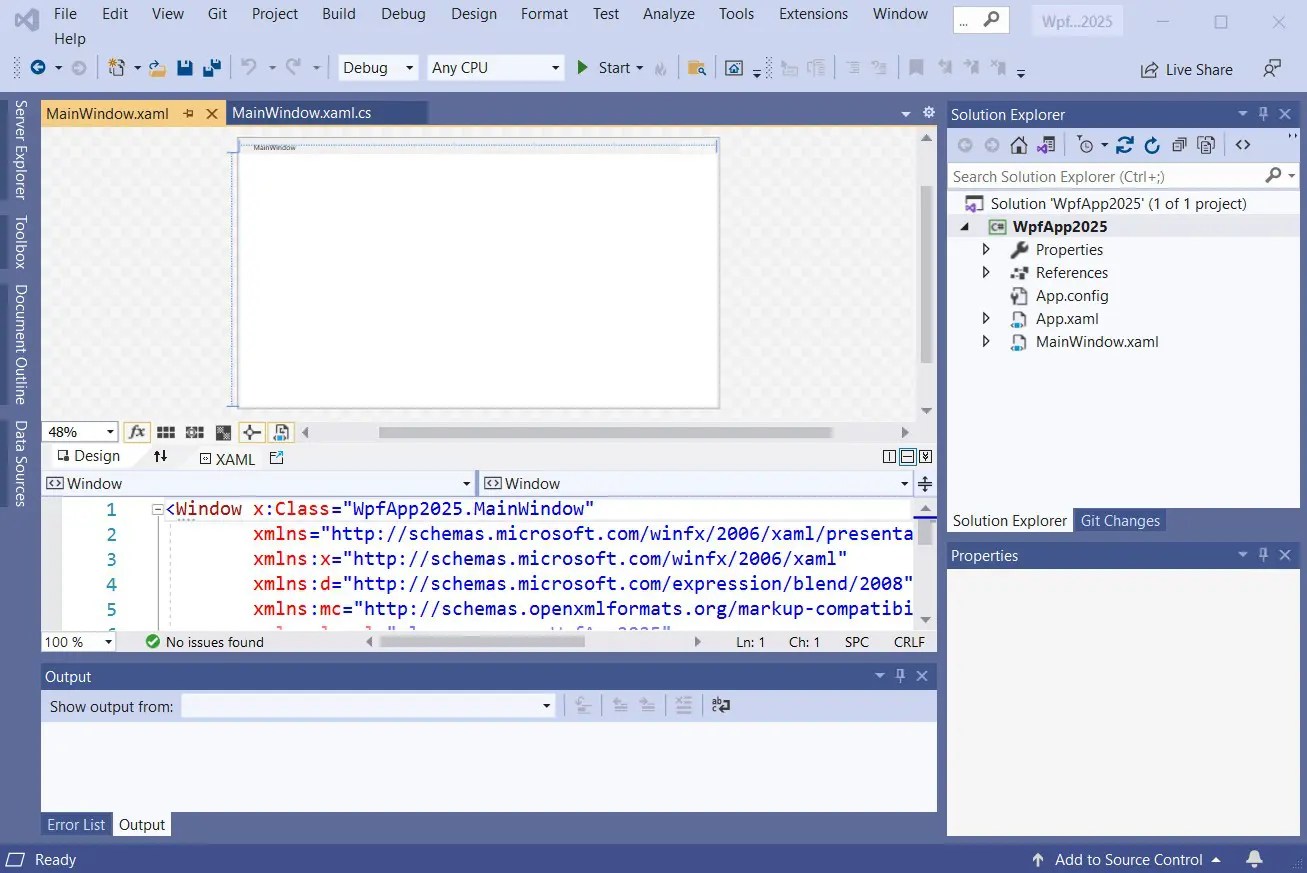
So now you are looking at the Visual Studio IDE. It will look something like the following screenshot. I changed the name of the project and your will be different. Below is a screenshot of the IDE (Integrated Development Environment.
After the program is set up you might try dragging s button from the toolbox on the left. Double-click the button to get access to the code behind window. Here is where you will write you C# code. Our example below follows a different path.
We’ve created the project called with a solution name of WpfApp2025. You can change the height and width of the main window. We have added a label. We have made some changes to the text and appearance of the label. You can change the XAML or you can use the Properties window (F4) to make the changes. The red arrows and text were added to the screenshot with Adobe Photoshop to help explain what we did.
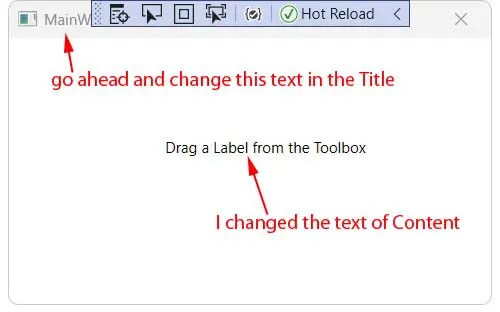
The red text I added with Photoshop for clarity. It’s not part of the WPF program.
Layout
When you are coding a WPF application, one of the first things you must do is arrange several controls on the application’s surface. You’ll be sizing and positioning the main window and the controls on it. Layouts follow a parent child relationship. Parent supplort multiple children. When they do this they are called panels.
Below is what the XAML code looks like.
<Window x:Class="WpfApp2025.MainWindow"
        xmlns="http://schemas.microsoft.com/winfx/2006/xaml/presentation"
        xmlns:x="http://schemas.microsoft.com/winfx/2006/xaml"
        xmlns:d="http://schemas.microsoft.com/expression/blend/2008"
        xmlns:mc="http://schemas.openxmlformats.org/markup-compatibility/2006"
        xmlns:local="clr-namespace:WpfApp2025"
        mc:Ignorable="d"
        Title="MainWindow" Height="250" Width="400">
    <Grid>
        <Label Content="Drag a Label from the Toolbox" Name="myLabel" HorizontalAlignment="Left" Margin="120,74,0,0" VerticalAlignment="Top"/>

    </Grid>
</Window>
I changed the height and width settings. I added a Label by dragging it from the Toolbox and I changed the Content text. Content is what is displayed. I also gave the Label a slightly more descriptive name “myLabel”. In a real project you would be more descriptive. To give it a name I simple went right in and typed Name=”myLabel” and Saved the project.
Notice that the label is inside the Grid. The Label is a child of the parent Grid.