- Oracle VM VirtualBox
- Windows 10 Virtual Machine
- Windows 10 VM Settings
- Create a Virtual Machine with VirtualBox
The Windows 10 virtual machine was created in VirtualBox in the last post. Before actually installing Windows 10, we’ll look at a few of the settings. The one thing that we can do before installing Windows 10 is to acquire a copy of it by downloading a 90-day trial version from the Microsoft Evaluation Center for Windows and then mounting the ISO file on the virtual optical drive.
Click on the small thumbnail screenshots to see the full size.
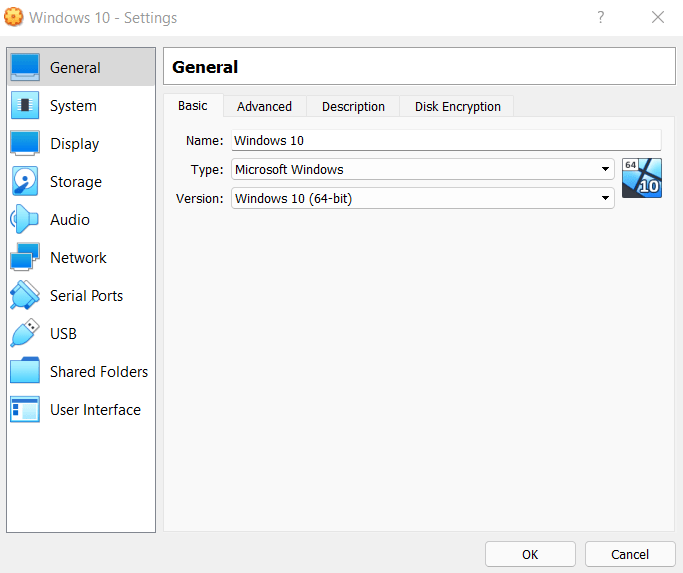
General
Go ahead and add a description under the description tab.
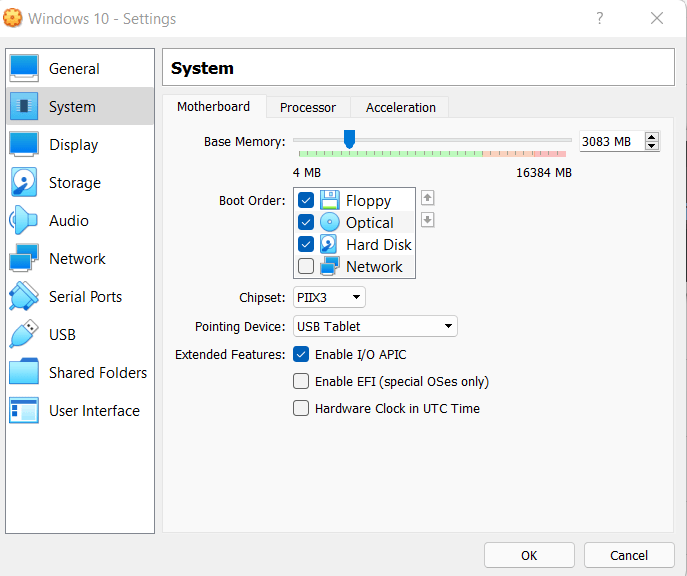
System
You might decide to add another CPU core or increase the RAM. I increased the RAM before taking the screenshot below.
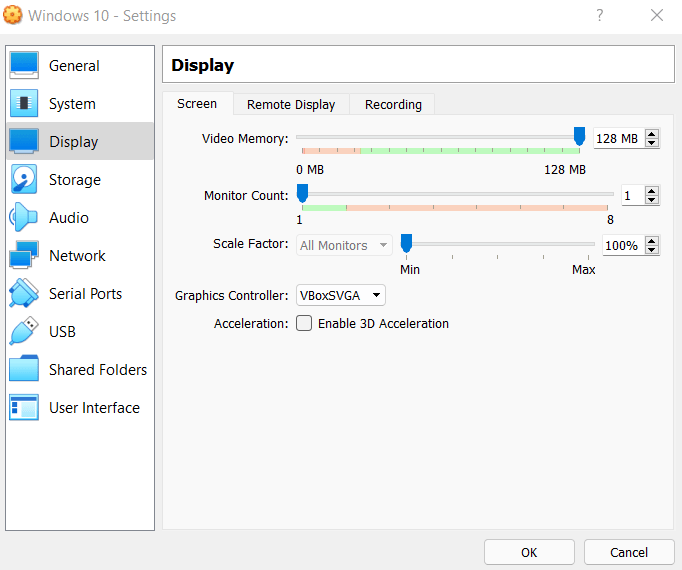
Dispaly
We can just leave the defaults as is.
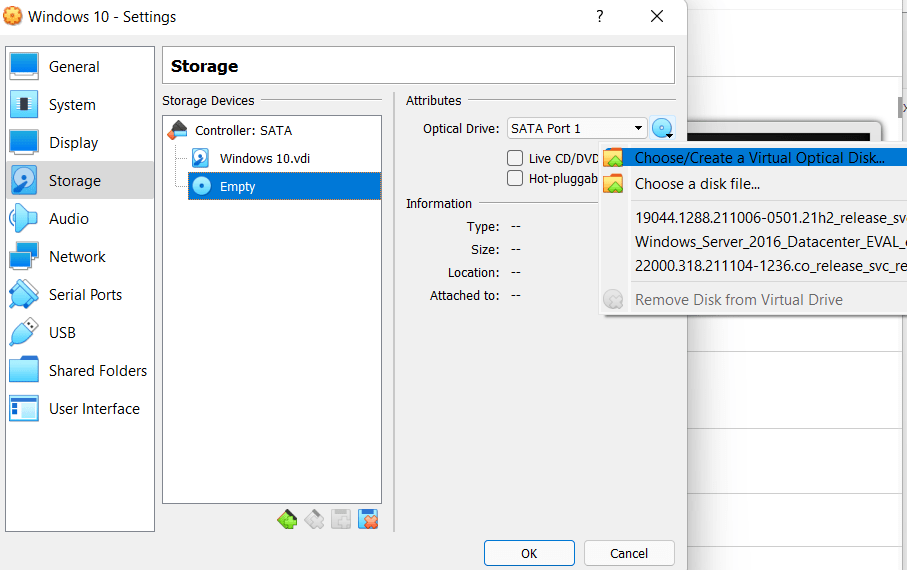
Storage
Here is where we need to mount the ISO file. You can download a 90-day trial version from Microsoft Evaluation Center. If you do the download, be sure to choose Choose/Create a Virtual Optical Disk.
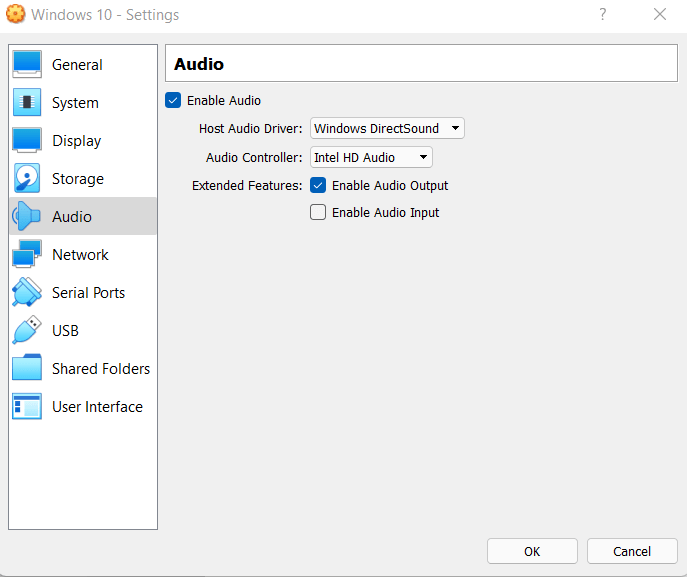
Audio
We can just leave the defaults as is.
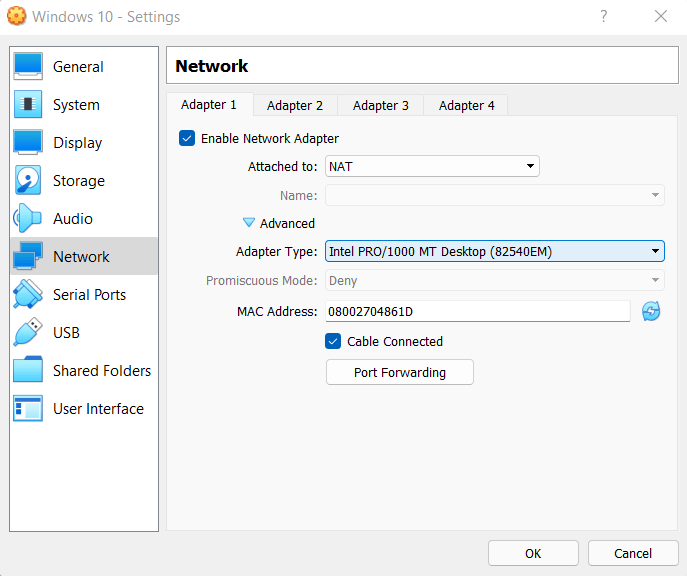
Network
We can just leave the defaults as is.
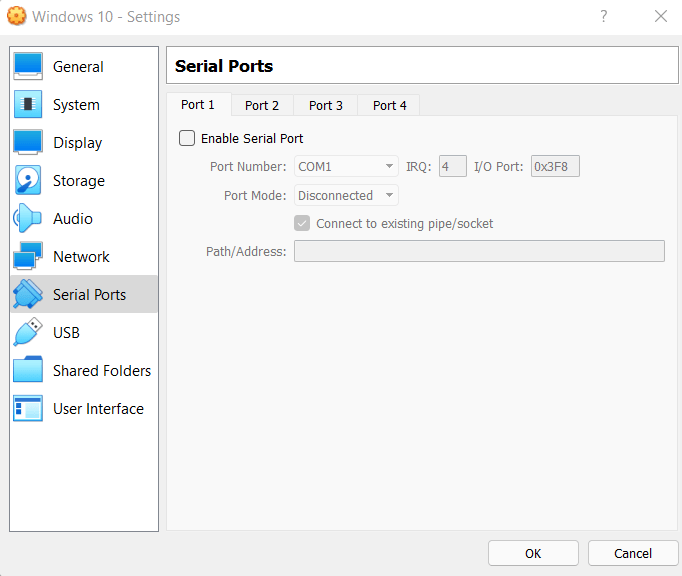
Serial Ports
We can just leave the defaults as is.
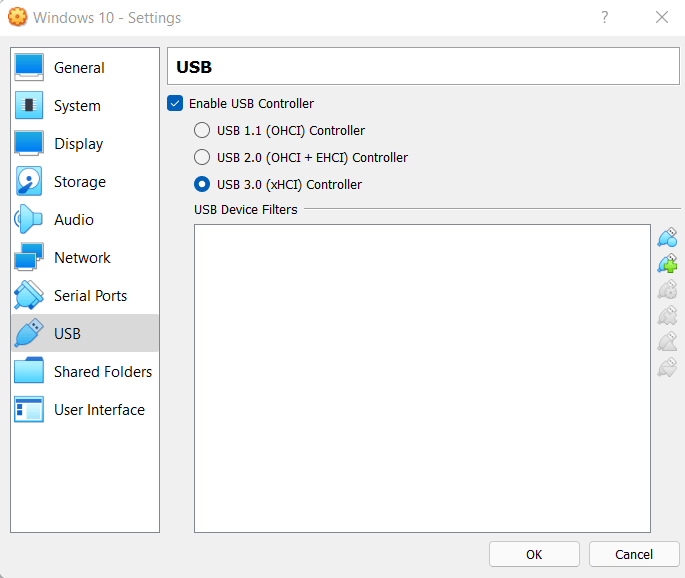
USB
We can just leave the defaults as is.
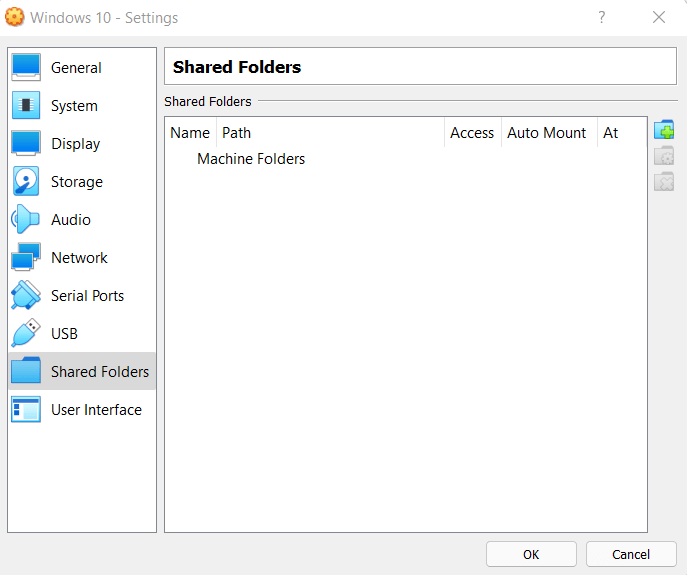
Shared Folders
We can just leave the defaults as is.
User Interface
We can just leave the defaults as is.
